

My husband often remarks that my site's articles are so wordy, and what can I say, I am a wordy woman 😊. However, with all the research I did to prep for this project, I appreciated the details that were shared by others who have lived to tell their tale. My goal is to give you the courage to affordably update your kitchen (or tackle any other daunting project you have), and to give you the knowledge to make the process as seamless as possible. So without further ado, here we go:
The Kitchen Before
When we bought our home I loved so many aspects about it. The kitchen was not my favorite room though, because it seemed the most outdated. I had grandiose ideas of vaulting the ceiling to match the adjoining family room, exposing the beams, knocking out a wall, adding an island, adding a pantry, moving all the appliances around and updating many of them, and changing out the cabinets to shaker style cabinets...but then realized this project would cost a fortune that we don't have. I actually liked the granite already in our kitchen, and the oak cabinets are extremely well-made, so why throw out expensive, quality stuff? It isn't in my blood...I am all about "recycle, reduce, reuse" (all the 1980s kids join with me in singing that little jingle 😉)

Everything looks so dark and orange, am I right? I love wood, and hate to just paint over it and hide it's natural beauty. Even though I paint over wood a lot of the time, a lot of thought goes into if that is the best route. If these cabinets had any trim, or details on them, I would have elected to change the stain color instead of just painting them; however, as I say that, stripping them down to re-stain would have been a nightmare so I probably would have painted them anyway! (Plus I love how bright our kitchen is now with them being white).


 |
| Notice the grease discoloration underneath? Yuck. Also the little cutouts in the cabinet doors were the way we opened the doors and drawers. Although they worked, we knew knobs and pulls would be easier to use. |
 |
| See the gray bands just below the shelves? Due to the yellowing of age, and the gray lines due to grime and age, I knew I needed to also paint the insides of the cabinets. |
Supplies you Need to Update your Oak Cabinets:
- Screwdriver
- Hand sander
- 150 grit sandpaper
- 220 grit sanding sponges
- Degreaser/Cleaner. I used Zep Citrus Degreaser from Home Depot because I had it on hand
- Plastic bags (I used cheap folding sandwich bags)
- Painter's tape
- Sharpie/permanent marker
- Timbermate wood grain filler (if you have oak cabinets, or another wide grain wood and want to have your cabinets as smooth looking as possible)
- Paintbrush (for the wood grain filler, or if you plan on painting the cabinets by hand)
- Oil based primer (Kilz or Zinsser work equally well. You can buy this in a gallon, but instead I bought around 20 aerosol cans, because spraying is so much easier, and eliminates brush strokes and the annoyance of cleaning your brushes with mineral spirits)
- Two gallons of paint: I used 1.5 gal for almost 30 cabinet doors, painting the shelves inside the cabinets, and the interior and exterior of each cabinet. I used SW Pro Classic in Alabaster (semi-gloss sheen).
- If you will be adding trim to your cabinets, you will need the following:
- Trim (I used almost 20 8ft. strips)
- Nail gun and finish nails
- Liquid Nails
- Square ruler and ruler with level (see trim section below for picture)
- Miter saw
- Knobs and/or Pulls
- Knob/Pull Hardware Installation template
- Plastic sheeting and/or tarps if you will be spraying your kitchen cabinets vs hand painting
- Paint sprayer (I have the Wagner Control Spray Max that I love. I suggest shopping around online for a price close to $100 if you are going to buy it).
I will detail the amounts I used of each of the above supplies as I go through each of the days' steps.
Although I divide this project into days, since that is how I chronicled it on my facebook page, you can obviously go faster or slower.
Day 1: Remove Cabinet Doors & Label Doors' Hardware
Remove cabinet doors and label each door so you can make sure you put them back where they go when you are done.

As you can see in the picture below, I used my Sharpie, and once I took out the door's hardware, I wrote what door it was, and used a T for Top, and a B in the other hardware hole for Bottom. This T and B isn't necessary, but it was a little helpful. I then put the hardware and screws in a sandwich baggie and labeled what door they belonged to.

Note: Prior to painting, you will want to put painter's tape over one or both hardware holes. Once you're done painting you will then remove the tape and be reminded where that particular door belongs and what hardware goes to it.
Day 2: Clean & Sand Cabinet Doors
Using half of our garage, I laid down drop cloths and arranged the doors so I could clean and sand the back of each door, and then the front of each door.
1st: Cleaning/Degreasing:
There are many good cabinet degreasers out there, but since I had Zep's Citrus Degreaser from some other household need, I watered it down based on the suggestions, put it in an empty spray bottle and sprayed every cabinet door. By the time I had sprayed them all, I then went to the first sprayed one, and using a rag, I wiped the doors in the order I had sprayed them. The degreaser had a few minutes to work on the grease and grime before I wiped them down, and it worked amazingly well.
Even though I did the shelves towards the end of my project, here is an example of how well this stuff works:
Before:


After:

The shelves got this clean with very little elbow grease. Just sprayed and then wiped off.
2nd Sanding:
After cleaning the fronts and backs of the doors, I then used 150 grit sandpaper on my hand sander (220 is fine too), and sanded the fronts and backs of the doors, sanding in the direction of the wood grain. I then wiped off the dust with a rag.
 |
| This picture was taken after I had been sanding the doors, and I started stacking them once they were sanded on both sides. The reason for stacking the doors, was so that I could then take the drop cloths out and shake them, since they were covered in dust. |
Note: I debated about sanding before cleaning, but because there was built up grease, cleaning prior to sanding saves you from going through a ton of sandpaper, because sandpaper does not like grease.
I used about one 1/4th piece of sandpaper per 4-6 doors. So for approximately 30 doors, front and back, I used about 3 full sheets.
Day 3: Timbermate Wood Grain Filler
This was the messiest day, and lucky for many of you with newer cabinets that are most likely made out of maple instead of oak, you do not need to worry about filling in the small grain of your cabinet doors.
For those of you who have oak, you don't need to do this step either. However, this before and after picture from Evolution of Style made me go through the extra effort and cost...

She used a wood grain filler called Behlen Waterbased Grain Filler; however after doing a lot of research and talking to the pros at Woodcraft, I settled on Timbermate instead.
The reason I went with Timbermate is the number of positive reviews online, (most wood grain fillers take 2-3 applications, and are messy, hard to work with, and can shrink when dried, thus giving most other grain fillers mostly negative reviews). Timbermate also can dry out, and then have water added back in so you will always have grain filler, or putty, ready to be used for any woodworking project you have now or in the very far future. I like that, no waste like many other wood putty and grain fillers. Plus it can be stained, which is a plus for future projects.
After shopping around, I bought a tub of it from my local Woodcraft, since it was the cheapest there at $18. I used almost all of it so I am glad I didn't buy the smaller more common size.

At first I didn't know how to use it, but thanks to YouTube I saw that you add water until it is like a thick paint, and then you paint it on. I painted it on in the direction of the grain and then against the grain to hopefully avoid having to do two separate applications of it. However, as it dried I realized I had so much excess to sand off once dried, that I should've just painted it on against the grain, like the videos suggested.
Warning, this stuff smells like burning plastic, or something else toxic. The container says it isn't toxic, but it does stink, and I suggest you wear a mask for safety reasons, as well as you will be covered in so much dust when you sand the excess grain filler off.
Here is what it looks like at different stages (jumping ahead in my days for your visual benefit):
The drawer on the left just had it painted on, and the drawer on the right had slightly dried:

Here is what it looks like when it is dry and ready to be sanded:


After it was dry, I then used my hand sander with the 150 grit sandpaper, (I used the sanding sponges for the rounded edges of my cabinet doors), your doors should look like this:

The dried Timbermate sands off very easily into a fine dust, and the stuff filling the grain cracks stays, making your cabinets look nice and smooth once painted.
Once you have sanded off the excess Timbermate, wipe off all excess dust and congratulate yourself on surviving one of the messiest days of your kitchen update.
Note: DO NOT WIPE DOWN WITH WATER! Water wipes the dried Timbermate away like it was never there! Spraying the primer on (the next step) will protect all of your hard work in applying and then sanding down the grain filler.
Day 4: Oil Based Primer
First, I laid out (mostly dust free) drop cloths and tarps in my garage. I then laid out long wood scraps in parallel lines so that I could have my cabinet doors off of the ground, preventing paint from gathering around the edges if there was no gap underneath.
I then laid the doors face down, with pathways that would allow me to spray the doors from all angles. After wiping down all the doors with a dry cloth, to make sure I removed all dustiness, I started spraying my oil based primer.
Make sure you are wearing a mask for this stuff, as well as have good ventilation. Even though I did both, I still ended up feeling woozy (I probably need a better quality air mask).

To cover 29 cabinet doors, it took me nearly 9 cans of primer. I used both Zinsser and Kilz, since I got them at Home Depot and Walmart, and they didn't had enough of just one brand. As far as coverage goes I feel like they are comparable. Kilz I think is a few cents cheaper and I do prefer the spray nozzle. However, I would be happy buying either brand in the future.
The reason for dealing with oil based vs. the more common (and cheaper) water based primer, is because oil based primer really prevents oil based stains, and other tricky messes that have been soaking into your cabinets for years, from coming up through the paint. Even though I had thoroughly cleaned these cabinets, stains would have still bled through regular primer, plus you have to prevent oak tannins from bleeding through, and coming to the surface of your paint job. Tannins are "water soluble extractives [that] have a tendency to migrate or bleed to the surface of the wood, causing discoloration to the coating" (Source). Tannins are naturally in a lot of wood types, oak being one of them.
After the primer had thoroughly dried, I turned the cabinets face up and painted the fronts of them.
Once both sides were dry, I used my 220 grit sanding sponges to softly sand any dried roughness. With very little effort/sanding, they become utterly smooth.
Day 5: Add Trim
I thought this step of the project would take a week to complete, but I got it done in a day. What wasted most of my time was trying to determine where I wanted the trim to go,(how many inches in from the outside perimeter of each door), and if I wanted to vary the location for the big vs. small cabinet doors. In the end, I decided on 2" in for ALL of the cabinet doors, and NOT for the drawers or turnaround cabinets.
Pictured below is little ruler that came in a pre-made toolset we got as a gift a couple years back. I had never known why it was attached to a level perpendicularly until I saw some other blog post that used it for drawing the lines for adding trim to cabinets. Seriously this tool is a lifesaver. I drew a few marks using it, and then used a square ruler to draw the rest of the perimeter for the trim to go.

After marking where the trim would go on each cabinet, I used my miter saw, and cut each piece with my saw set at 45°. Many of the cabinet doors were different sizes, but finding which ones needed the same trim lengths, allowed me to cut several pieces using the same measurements, speeding up the process. Before nailing down each piece, I spread a thin line of Liquid Nails, and then used my nail gun with 3/4" finish nails, and did 2-3 nails per piece of trim. I nailed down opposing sides, and then made sure my smaller sides fit well before I nailed them down too. Once every trim piece was nailed down, I filled in the nail holes with caulking, (however I think wood filler might have been better at filling the holes).
Note: Choosing the right trim is a tricky job, and took me almost a year to decide on the trim that I did. Some things to take into account:
- The sides of your cabinet doors: Mine had a slightly rounded edge, and so I chose trim that had a slightly rounded edge as well. If your cabinets have more of a right angled edge, then choose a more sharper edge for your trim.
- Trim can often be thicker than you think. It is helpful to get a few samples to hold up to your cabinets to make sure they don't stick out too much. If the trim comes out too far it can get in the way, or look bulky and unprofessional.
- Trim comes in varying wood types or PVC material. Oak is going to be one of your priciest because it is the strongest and most durable, and is obviously natural. Since I was going to be painting our cabinets, I didn't need to worry about stain-ability or matching our existing wood. I chose the PVC trim, because it was the shape and depth that I wanted, and it was only about $2.25 per 8 foot strip. This was by far the cheapest route, and it was easy to work with.
- Make sure you check each strip of trim for straightness, since some can be really bowed and that makes that piece of trim garbage. For almost 30 cabinet doors, I used approximately 18 eight foot strips.
Day 6: Paint the Back's of the Cabinet Doors
Before using your paint sprayer, make sure all the dust and dirt is off the back's of your cabinet doors, and that all dust and dirt is out of the way (not under cabinet doors or nearby). If your sprayer is like mine, you can turn it on without pulling the trigger, and just aim it to blow things out of the way. Do a test before spraying to make sure that when air is pointed at your cabinets, it isn't kicking up hidden debris that will then land on your wet paint job. Some of this will happen, however, the cleaner your environment, the less things you will have land on your drying doors, and the less you will have to use your sanding sponges to remove that grit.
Once things are good to go, add your paint to your sprayer plus some distilled water to make it the viscosity that your sprayer recommends. The amount of water you need depends on the thickness of your paint. I used Sherwin William's Pro Classic paint in semi-gloss finish. This paint is on the thin side so I didn't need to add much more than a TB of water per my sprayer's paint container. Check your paint sprayer's directions for making paint easy to spray.
To avoid drips in your paint, when spraying make sure to keep moving and not let too much paint spray in any area. Also maintain the advisable distance recommended by your sprayer. Although you can hand paint your entire kitchen, spraying everything speeds up the process tremendously, and avoids brush strokes, which look unprofessional. $100 is all I spent on my sprayer, and it was well worth the cost.
After letting the first coat dry for several hours (depending on your weather), I took my 220 grit sanding sponges and did a quick brushing almost of each door to get off any little dirt that might have settled on the drying paint, as well as any little sputters in the paint. This quick, light sanding makes the doors feel very smooth. Then, it is helpful to look at the cabinets in good light and see if you missed any spots, and then do a second coat of spraying in those areas (plus everything else for good measure).

Day 7: Paint Front's of the Cabinet Doors
After a day of drying (in dry Colorado), it is safe to flip the cabinet doors over and paint the fronts. After following the same steps mentioned for day 6, I ended the day with only using 3/4 of a gallon of paint for the 29 cabinet doors fronts and backs.
 |
| Due to garage lighting, the color looks much darker and more yellow than in good light. |
I want to mention my thoughts on SW Pro Classic in Alabaster. In deciding what white I wanted, I settled on SW Alabaster for two main reasons. First, I wanted a white that was close to pure white, but had a hint of warmth to it. I used SW Extra White on all of the trim and baseboards in our home, but didn't like how "cold" it felt. I am still happy with the Extra White, but find that most white things in my decorating have a hint of cream to them. With the granite we already had in our kitchen, having beige and other warm colors in it, I thought the Alabaster would look better. Second, while trying to solidify my decision between Extra White and Alabaster, I got an email from Sherwin Williams that said that Pottery Barn had chosen Alabaster as one of it's top 2017 colors. Knowing Pottery Barn liked the color made me feel safer choosing it.
In regards to choosing semi-gloss as the sheen, the Sherwin Williams guy, plus many other pro painters online, suggested semi-gloss for kitchen cabinets due to the ease of cleaning. I however, did not want shiny cabinets, but more of a satin finish. I don't know whether it is the Pro Classic line of paint, or the fact that I sprayed the paint, that the paint looks satin in the end, and I am happy with the low level of sheen that it has.
Lastly, I went with Sherwin William's Pro Classic line because it is second down from their top line, and one of the most recommended paints for painting cabinets due to it's self leveling properties, its durability, and coverage. I painted my entire cabinets, inside and out, using only 1.5 gallons. Using a 30% off sale that was going on at the time, two gallons of paint cost me $100. I know $50/gallon sounds expensive, because at Home Depot and Lowes I hate spending even $30/gallon; however, I have used the top lines of paint both stores carry and am not happy with the sticky/latex feeling that they have in the end. Although the paint cures, and is less latex feeling, it takes longer to cure, and still feels not as dry and smooth as Sherwin William's paint that they sell in their stores. Most paints have some enamel type finish in them now, but SW Pro Classic truly feels harder and stronger in the end, and does self level better.
Day 8: Prep Kitchen for Priming and Painting

On day 8, while listening to some classic 90's music, and my two youngest playing and rocking out in the adjoining family room, I prepped our cabinets for priming and painting. I took shelves down to our garage, food and other things were spread around our home, and then I vacuumed out cabinets, and used my Citrus Degreaser to wipe down the inside and outside of the cabinets.
I then used 150 grit sandpaper, and sanded down all of the cabinet outsides. I wiped off the dust from sanding, and then used Timbermate wood grain filler for any of the areas that had a large surface area of wood, as well as the front's of the drawers. After the filler was dry, I sanded off the excess and cleaned up my dusty mess. It was a long exhausting day of prep work.
At the end of the day, my husband helped by plasticking (should be a word) off the area above our cabinets. Thanks to his extra height and muscles, I knew this job would go faster if he did it vs. me.
While he was doing the plasticking job, I was working on the shelves. I first cleaned them with the Zep Degreaser...
Remember the before:
And the after:
...and then after cleaning, I used a paint roller and rolled on some Zinsser water based primer I had on hand, since I was out of oil based primer, and the shelves are not made of wood, (no tannins to worry about), and had been inside cabinets, (very little oil/grease exposure). After the primer was dry on both sides, I rolled on the SW Alabaster. The whole shelves process I did in between working on the kitchen cabinets, and took me about two days due to drying times.
Day 9: Finish Covering everything up and Spray Primer and Paint
I bought a bag of 6 plastic drop cloths at Home Depot for around $8 and used a roll and a half of painters tape, and plasticked everything off. Because I would need to move around on the floor, I put a tarp so that it was overlapping the plastic, to make sure I didn't rip any holes.
Once everything that I didn't want painted was covered, I went through about 10 cans of oil based primer. When it was dry I checked for any rough areas, or areas where paint had dripped and dried, and used my 220 sponge sander to smooth those areas prior to paint. Thankfully primer dries very quickly, so everything was ready for paint within the day.
Later that day I brought my Wagner sprayer in from the garage and sprayed all of the cabinets. Nothing too complicated to explain with this step 😉.


While I took a break from working in the kitchen, I worked on adding the knobs to the cabinet doors I had in our basement. Using the knobs/pulls guide I bought for $8 at Home Depot, I marked the bottom third dot in with pen, then I pre-drilled a hole, and then screwed in the knob.


Shopping for Cabinet Knobs and Pulls
If you have followed this blog for long, you have learned that I am all about finding the best value of things. I hate spending money, and often will shop for something, find that I can make it instead, and go home to make it rather than spend the money on it. Unfortunately I can't make knobs and pulls and so I shopped around.
I looked at Home Depot, Lowes, Hobby Lobby and www.dlawlesshardware.com (a highly recommended hardware site on Pinterest). In the end I bought everything on Amazon. Hobby Lobby is great for more unique hardware, and is priced great when it is 50% off knobs and pulls week (about every other week). However, I wanted rubbed bronze hardware to match some colors in our granite, and to really pop against the white.
Home Depot and Lowes have more rubbed bronze options, but none of them were what I was looking for, and when buying a lot, their prices really add up.
D. Lawless Hardware has very competitive prices and it is easy to get free shipping, but Amazon's prices beat them, and had the knobs and pulls I wanted.
Here is a screenshot from my orders section on Amazon:

At about $1.15/knob and $2.50 a pull, you can't beat that price. Plus they are solid, the perfect weight, and look amazing. Thankfully Amazon, like always, had a lot of reviews saying just that, with users pictures too, so I was able to buy them with confidence. The screws that came with them were even the length that I needed, so that was a bonus.
So before this project I had no idea Amazon had a good selection of cabinet hardware at a good price, and now you know too.
Day 10: Spray Second Coat of Paint, Remove Plastic, Add Shelves and Doors
Early in the morning I went around and sprayed a second coat of paint. When using a sprayer, it isn't like you do a first coat and a second coat, and so on; but instead, a sprayer is a finer mist that you can quickly overlap on your first time spraying that item, and thus get way more than one coat at a time. When everything looked good, and didn't need anymore paint, I let things dry a little, and then used an X-Acto knife to cut away the tape, (so that paint that had adhered to the tape didn't get ripped off with the tape). It is such a fulfilling thing pulling tape and plastic away from freshly painted things. Seriously, such a great feeling.
Once all of the plastic was off and the tarps put away, I let the paint dry the rest of the day. Later on that day I carefully added the shelves back in, and then I added the doors. At the very end of the day I screwed in the pulls on each of the drawers.
I probably should have spread this day out to at least two days, but seeing the end in sight made it really hard for me to take a break, and fortunately I live in Colorado so things dry really quickly.
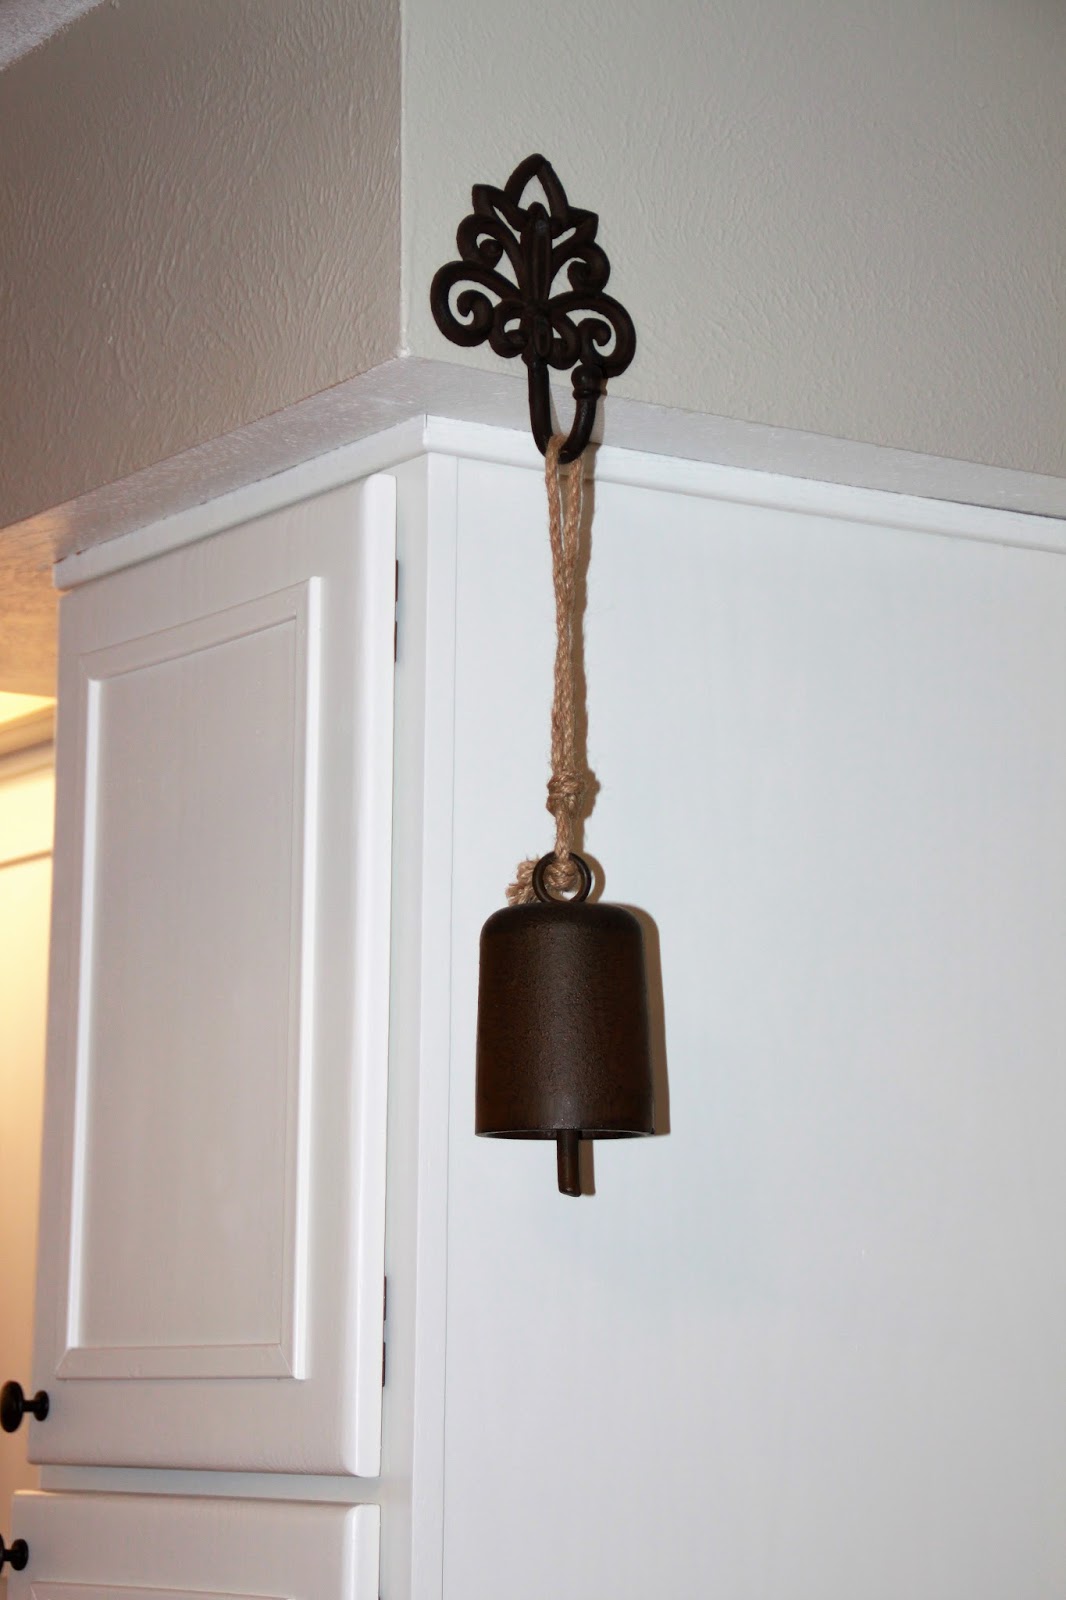
 |
| Because I hate fluorescent lighting, especially in our kitchen, I will someday pay an electrician and drywaller to change our lighting. However, with the kitchen now being white, I feel like the outdated lights are less obvious than before. Now that's a perk! |
 |
| No more yucky grease stains |
 |
| No more yellow and gray signs of age |
 |
| No more grain lines. Thanks Timbermate! |

 |
| Even though the drawer under the sink doesn't open, I decided to put a pull on it for uniformity. I am glad I did since I think it makes everything look more finished. |

I hope you have gotten some valuable tips from this long saga of a post. I have planned for this project a long time, and I would imagine you have about the project you are thinking about too. Planning for a project really does make everything go smoothly, but sometimes you need to recognize the itch to start the project, and muster up the bravery to finally go for it. Once you do start, the momentum gets going and you will be amazed at how quickly everything is transformed, and how good you feel for going for it. To think that our kitchen is completely different from just 10 days of work, makes me wonder why I didn't do the project earlier. Even though the work can be back breaking at times, I can attest that the achy muscles and joints quickly go away, and you will forever be able to enjoy your hard labor.
Please feel free to ask any and all questions, because I know what it is like stepping into the unknown, and wanting to know why someone did something or why they didn't. I actually asked some bloggers out there questions leading up to my project, and because they never responded I had to look for my answers elsewhere. I promise to answer your questions in a day or two. That is why I created this blog, to chronicle projects that I do, to encourage you that you can do them too, and to be there to help make it easier for you along the way.
So thank you for reading and for following my creative undertakings.
Here is the approximate breakdown of what the kitchen update project cost (I included items that I already had on hand, but wanted to give you the cost in case you don't already have something):
Note: Items from Home Depot unless mentioned otherwise
- Zep Degreaser $11
- 220 grit sanding sponges 4 pk (Amazon) $8
- 150 grit sanding paper $5
- Timbermate (Woodcraft) $18
- Oil based spray primer (Walmart best price $5-6 ea) $100
- 9'x12' 0.7mil 6pk plastic drop cloths $8
- 20 pieces of 1/4"x 3/4"x 8' PVC trim $50
- Liquid Nails $4
- Finish nails 3/4" $8
- SW ProClassic paint 2 gal (Sherwin Williams) $100
- 35 knobs + 10 pulls (Amazon) $69
- Alignright hardware mount kit $9
- Felt pads for cabinet doors to close softly $3
________________________________________________________________________
Total: $393
For less than $400 and in only 10 days you can have a "new" kitchen. If you don't need to add trim, or use wood grain filler, you can do it in less than a week's time and for less money! Not too bad huh? You can do it!

