
Do you ever get an item for free that isn't free enough? This dresser makeover at first felt like a bad idea. Broken drawers, broken frame, trash, mold and even a spider egg sac tempted me to throw it out for trash pickup, but I am glad I didn't. Today let's talk about how to make almost any dresser get a second chance, as well as how to paint some pretty rad racing stripes...

I was about to pay $30 for this dresser on Craigslist, but when I saw that not just one drawer face was off, but all of the drawers were in bad shape, the guides were in bad shape, and the frame was in bad shape I knew it was time to ask for it for free. The seller was happy to get rid of it...I should have taken that as a warning. After getting it home I saw this...

Mold. Inside were the spider eggs and trash. Yuck. I did some more inspecting and although not all of this dresser was made of solid wood, I still liked that the frame seemed solid. I also figured that several of the drawers were in good shape, and I could fix two of the tracks.
However if this dresser's general makeup was laminate--I'd have trashed it. If I wanted this for a typical dresser and had to salvage all of the drawers and their tracks--not worth it--trash it. I have learned that buying the materials for new drawer guides, etc is pricey, hard-work, and often still leaves a lot to be desired. Unless it is an heirloom or antique, restoring the dresser and it's guides is not worth the time or money (for me).
Since this project was for fun, and I could do whatever I wanted with it, I decided to give it a makeover.
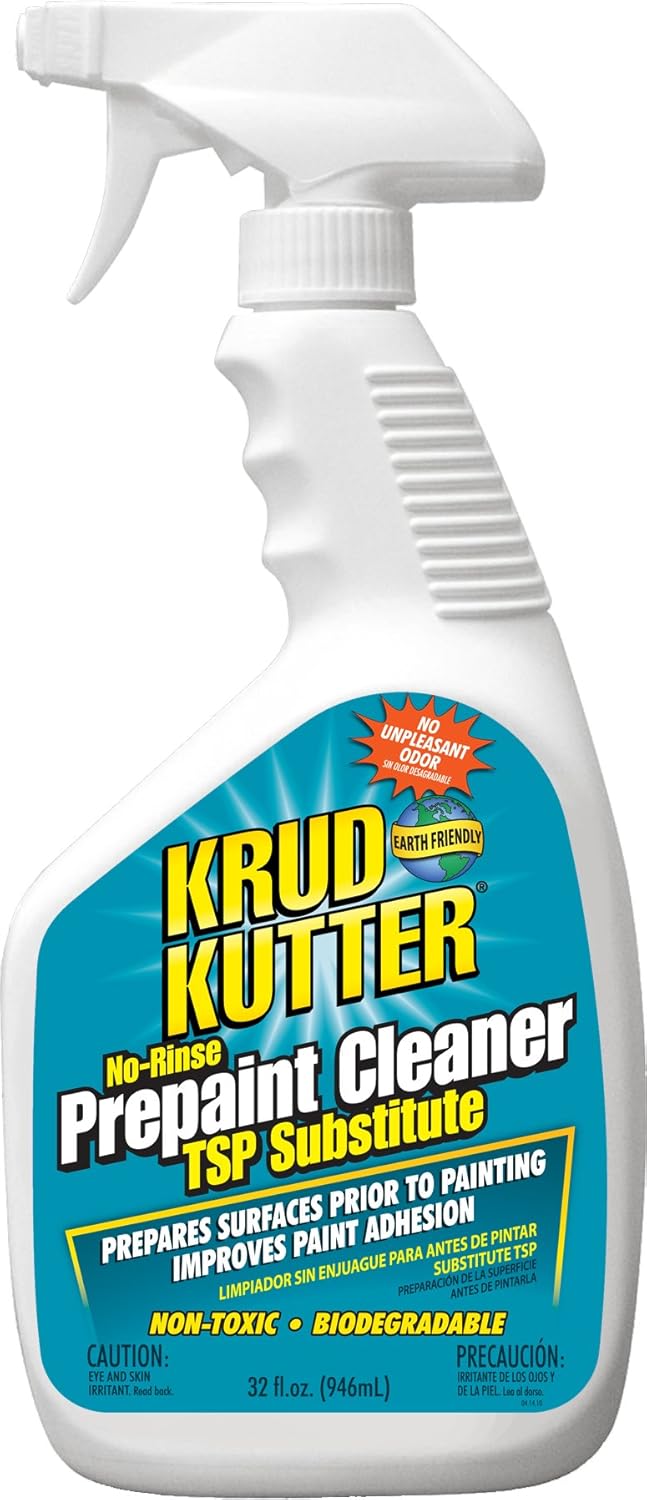
1.First, I used this to clean the dresser (and get rid of the mold):
2. I then used my hand sander with 220 grit sandpaper, and sanded all the large surface areas (paying special attention to the bowed area where water was absorbed=mold issue). I used a 180 grit sanding sponge for all of the nooks and crannies.

3. Next, I removed the top several drawer guides and frames. I then used one for the frame of the new shelf and placed it based on the height guidelines I found here. I then cut two thin (but sturdy) wood pieces I had to size to make the shelves. Lastly I added trim to the front of the shelves to "finish" the look.

I didn't take pictures of all of the steps I took within this step. I used some glue and then my nail gun to adhere the trim to the front of the wood and drawer guide, and then used wood putty to fill in the nail holes. I then sanded the wood putty once it was dry, as well as the shelves so they were nice and smooth and ready for paint.
4. Next I painted with paint matched to Sherwin William's Tricorn Black from Lowes
I chose Lowe's highest quality paint in satin, because I wanted some sheen, but didn't want it too glossy. I chose higher quality paint because it has better coverage, levels better, and is more durable than the cheaper versions. I debated about using primer first, but knowing there was primer in the paint, the dresser was already dark in color, and I used that special pre-paint cleaner, I decided to risk it and skip this step. No regrets. The paint did wonderfully and although I used my Wagner paint sprayer, it didn't require many coats.
5. Then I put up the bead board for backing
I debated about painting the beadboard something other than white, but liked the stark contrast of the black and white. However, after screwing in the beadboard I felt like the dresser now needed some white accents. I decided to paint white stripes as well as paint the hardware white to complement the white beadboard backing.
6. Next was the tape (I hate taping).
Measure, measure and then measure some more. I hate measuring even more than taping. Remember to tape where you want the painted lines to not be.

7. Then paint along the tape with the non-stripe color
To prevent bleeding past the tape, it is important to paint your base color again, after taping. This color will do the bleeding so that your stripe color stays within the area you want the stripe to be.

Taping and painting took me 1.5 hours. After doing so I was wondering if this stripe idea was a good idea. Since I had invested so much time now I felt I had to go for it even if I might regret it.
8. Paint the stripes
I used my paint roller and used a paint brush in the hard to reach areas (like the tops and bottoms where there are a lot of curves, etc.). What I like about using a roller is that it makes the paint have a different texture than the paint that has been sprayed. When the tape is removed it makes the painted stripes almost feel like it is taped on. It is really cool.

9. Remove the tape once the paint is dry
Moment of truth. This part is pretty fun...

I'm not going to lie, when you remove the tape you will see some bleeding in areas. I took a small paintbrush and fixed these areas.
10. Spray paint drawer pulls
I used Rustoleum's gloss spray paint in white. I used my 220 grit sandpaper and roughed up the drawer pulls and spray painted them with several coats (letting them kind of dry in between coats). When fully dried, I screwed the hardware back into the drawers and voila!


Now I no longer regret the stripe idea. Although I know it limits the interested audience, I think the stripes makes the whole piece go "KAPOW!" The stripes makes it more studly, right?
Although I am tempted to keep it for my boys, it is now posted for sale. I hope some stud gets it :)
What other things have you done stripes on? Do you have any helpful techniques? Tape designs are endless, and I would love to hear any creative designs you have tried in the past. Thanks for sharing!