

So if you follow me you probably feel like seeing this table is deja vu, because I finished another similar table a month ago. This table set was so much easier because it was built solidly and still in great condition--for the 1990's. Time for the miracle power of paint and stain to enter the picture and bring an outdated, unwanted piece to today's world.
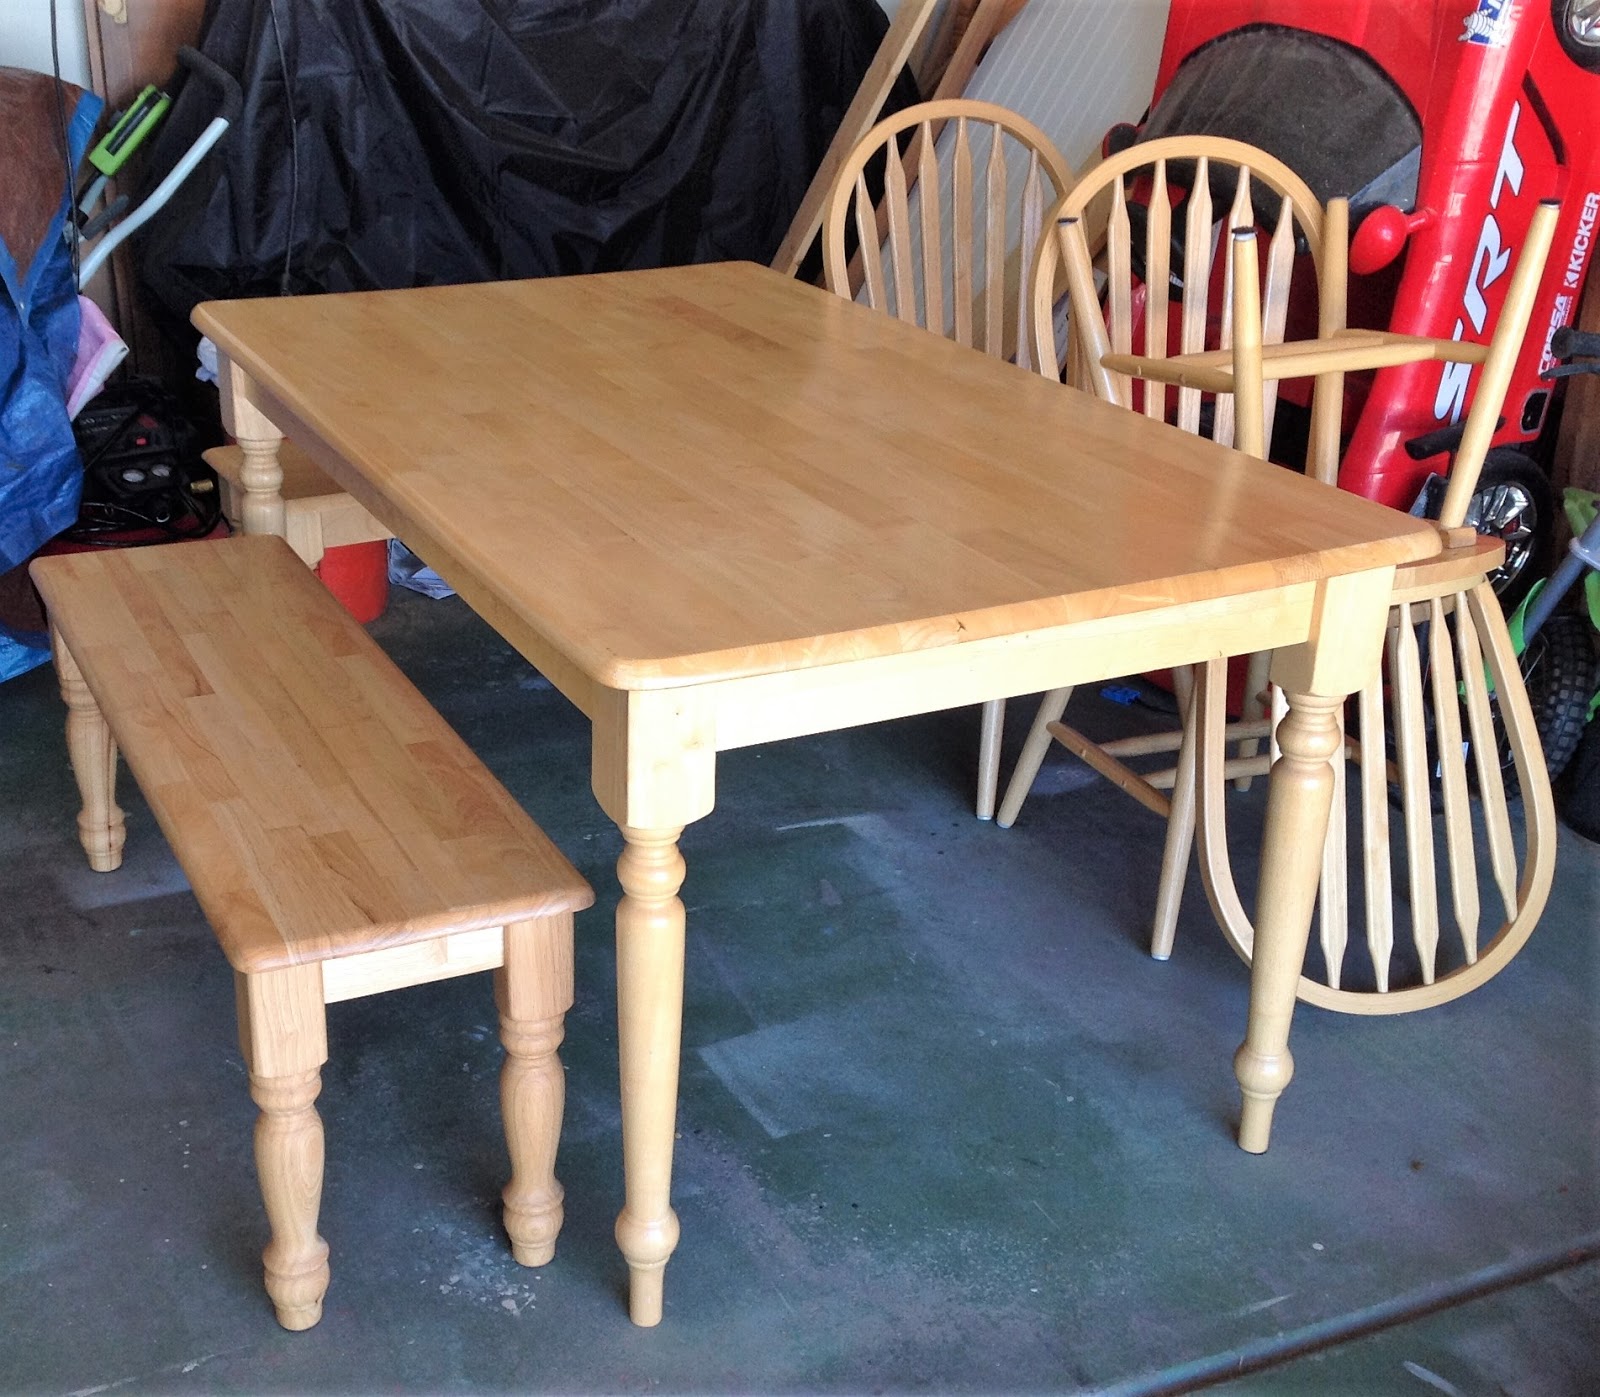
When I get a chance to sit down and watch one of my tv shows, I peruse Pinterest or Craigslist. A few weeks ago I came across this table for $150 in my local area, (one of my rules is that I don't drive more than 20 minutes to pick up a project. Fortunately I live in an area that if I am patient and I search, I find plenty). I didn't want to spend $150, so after a few emails back and forth about whether it was available, the dimensions, etc. I asked is she would take $100. She emailed me back with a yes, and bingo, I had a new project:
Now $100 is more than I like to spend on my pieces to redo, but after making $700 in profit from my last table redo, and recognizing that although this table was smaller with less seating, it also was in much better shape and would thus take me far less time. Plus I knew I had almost all of the supplies on hand already, so I figured the extra cost would pay off just fine.
So then to decide what makeover to give this lovely honey oak table, two benches, and two chairs (no need for the extra one they threw in)....
I couldn't decide between two looks I had envisioned in my mind so I asked my Facebook followers..."Which set's "look" do you like best?"
 |
| I really wish I had the links to each of these tables, but alas I do not. If you're reading this, and you created one of these tables please let me know so I can give you all the credit your beautiful creation deserves! |
75% voted for the table on the right, so that is what I set out to do. Even though the table on the left would be easier because I wouldn't have to sand down the tops of the benches and table, but just do a few coats of General Finishes gel stain over the tops, I did like the picture on the left a little bit more, and wanted to see if I could do it.
One problem though... I forgot to read the blog posting on how that table's look was accomplished. I figured I would just wing it, and instead got this look:

So different, I know. Since I am selling it and it looks pretty anyway, I didn't fuss with matching the looks. But now I have researched how that look (on the right) was achieved (white wash coat first, brown stain over top, and wipe off), and I will try that on a future table I get.
Here is how you get the look I got:
- Sand down the tops of the table and benches. I started with my belt sander since I like to results fast, which had 80 grit sandpaper. I then used my hand sander with 100 grit, then 150 then 220 grit. The table's original top coat was officially gone and the wood felt as smooth as butta.

- I flipped the benches and table upside down (on top of cardboard to protect the smooth, susceptible wood), and taped around the underside of their tops to protect the area that would be stained. I then used my paint sprayer and painted.

Can you see the blue tape? I sealed off the edges that would be exposed to the paint. - Flipped them all over and did a happy dance because my plan worked perfectly...

- I then applied wood conditioner to the wood. I have never used wood conditioner before, but wanted a nice even look, and for the pores of the wood to welcome in the color. I applied it as directed, and then after 15 minutes...
- I applied the stain, (followed by 3 coats of polyurethane (using 0000 steel wool in between the 1st and 2nd coats of poly)). I applied 1 coat of stain to the benches, and around 2 coats of stain on the top of the table. I am pretty sure that I didn't get ALL of the original top coat off of the table's top, because the stain didn't soak in to all of the areas equally. Frustrating at first, but then I kind of liked the natural, shabby look this achieved, and went with it. It's art right? (BTW, I did allow for the recommended amount of drying time between the stain and each coats of the poly).
 And that is it. Not too hard right? It was nice having all of the supplies on hand so that the project really only took me a few days. However, I really do think I want to try the look that my FB fans suggested sometime soon.
Closeup of one of the benches


 |
| I thought my boys' chalk drawings added flair |
Also, I'd love to know if you have ever used a gray stain that you really like. Although I like Rustoleum's Weathered Gray stain, I think I would like to try one that has a warmer hue to it.
Thanks for reading my latest saga! Sign up to follow each of my sagas there on the right side of the page. You got it! Now you can have a whole lotta fun just emailed to you ;).